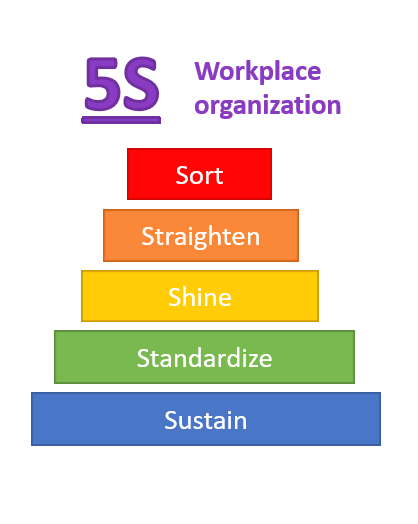
There are many different tools that you can use within the different phases of 5S. One imortant aspect of using 5S in an efficient way is to follow the stages one by one. First we Sort, than we Straighten, shine, standardize and sustain. This article will focus on the first two stages of 5S: Sorting and Straightening. it is also part of a chapter in the book: Sustainable 5S (Panneman, 2019). The previous article introduced the concept of 5S.
Stage one is referred to as SORTING. At this stage, an evaluation of the need for everything that can currently be found in the work area is conducted. For every part, material, or tool in the area, you can ask the question: is this tool/material necessary to perform the task? If yes, the part can stay in the area; if no or if you are in doubt, the part is removed from the area and moved to an open and un-used area of the plant where it can be tagged and displayed; the red tag zone.
The red tag zone is a designated location in the factory or department in which all materials and tools can be placed and “tagged” with a read label indicating the item as being “unnecessary” for the operation. Accordingly, all the items that are removed from different workstations are identified with a red label and moved to the designated area.
Figure one depicts what a Red Tag Zone could look like in practice. Notice that the area is designated by using (red) tape on the floor, and that all items in the area have a label attached to them that is used to document when the item was moved there and for what reason.
Using a red tag zone supports the team in using the 5S principles as a continual process rather than a single event. Instead of having one clean out session, parts can be moved to the red tag zone at all times. In the event that it turns out a part is needed at a certain workstation (either the same one where it came from or another workstation), the part can easily be taken back into the work area and should then be included in the standard (stage four).

Figure 1: An example of a physical Red Tag Zone,
and a 5S Red Tag label (SOURCE: Panneman 2019)
One consideration that is important in implementing the red tag zone is the time that an item is allowed to be placed there before it is decided what should happen to it. For instance, if the tool stays in the red tag zone longer than a defined period, it can go back to the warehouse, where it might be able to be reused through hand over to another department. If no other department can reuse the part or tool, it can be thrown away or if there is value in any of the items, it may even be sold or auctioned off to employees.
I’ve witnessed multiple “5S flea markets” within one of the companies that I have worked for in the past. Tagged items that were tagged out were sold to our employees at very low prices. The profits of these flea markets were donated to charity.
In addition to evaluating if we need everything that can currently be found in the targeted working area, we must also think about what might be needed going forward that is currently not in this area. In other words; while those things that are no longer needed are being removed, things that are needed must be brought in.
Doing the analysis on what tools should be brought in to the 5S standards should reduce the chances of operators having to look for tools (motion) and bringing them back to the workplace (transport) times.
Where removing items from a work area (sorting out) can help to declutter the workplace and create order, it is the addition of necessary items to a workplace (sorting in) that has the biggest impact on productivity.
The second stage of 5S is referred to as STRAIGHTENING or SETTING IN ORDER. After having removed and properly disposed of everything that is not needed by production operations at the workstation, the parts and materials that are needed can be given a fixed location and fixed quantity. Doing so becomes a manifestation of the “3F” principle, in which every fixed part, has a fixed location, with a fixed quantity.
One example of establishing these standards is the use of colored lines on the floor to show where something is allowed to be placed temporarily.
Note: In my experience, tape is preferable over paint, because of its ease-of-use and removability.
Another example is the use of shadow boards on the walls for tools. The goal of marking the location for each and every tool on the board, is to make it readily obvious when a tool is missing, which in turn should decrease the possibility of productivity decrease because something is missing that is necessary for the operations.
Within seconds (i.e. no more than three), everybody passing by should become aware as to whether something is missing. This is referred to as the three-second rule. Figure 2 shows an example of a shadow board from a factory in Italy, where you can see what tools are missing by looking at the shape of the white lines.
Unfortunately, there is no worldwide standard for the use of different colors for floor taping. There are however, recommended standards by OSHA and ANSI.

Figure 2: Example Shadow board, where the white lines indicate the shape of the tool is missing (SOURCE: Panneman, 2019)
My personal recommendation for use of colors are as follows:
- Yellow: designates the boundaries of the workstation.
- Blue: designates work in process.
- Green: designates finished product.
- Red: designates defects and the red tag zone.
- Yellow-and-black stripes: designates places where nothing should be put—for instance, an area in front of moving doors, machines, or inside walkways.
Continue To:
5S in Practice - Sweep and Standardize
REFERENCE:
Panneman, T., 2019, Sustainable 5S - How to Use the lean Starting Tool Tool to Improve Flow, Productivity and Employee Satisfaction, Dublin: MudaMasters (summary / order this book)


